
DIY PVC Reptile Enclosure Build: Step-by-Step with Costs
Building your own reptile enclosure out of PVC can save money while giving you a custom setup tailored to your pet’s needs. PVC cages are lightweight yet durable and hold heat and humidity well, making them ideal for reptiles. Unlike wood, PVC panels won’t warp or rot in moist environments. They’re also easy to assemble and clean – a simple vinegar-and-water solution wipes away dirt and waste. In this guide, we’ll walk through planning, materials, and step-by-step assembly for a budget-friendly DIY PVC reptile cage (e.g. 4×2×2 ft size), including approximate costs.
Why Use PVC Panels for Your Reptile Cage
Reptile keepers favor PVC enclosures for several reasons:
Durable and Moisture-Resistant: PVC resists moisture, rot, and insect damage much better than wood. It won’t warp or mold even in high-humidity setups.
Good Insulation: These enclosures hold heat and humidity well, helping maintain temperature gradients for basking and cool sides. (In fact, a front- or side-opening heat lamp with a rock underneath can create a safe basking spot.)
Lightweight & Easy to Move: PVC is lighter than glass or wood, making cages easier to assemble and reposition. This makes stacking or expanding your collection simpler.
Easy to Clean: The smooth, non‑porous surface wipes clean easily. According to manufacturers, a simple vinegar-water spray cleans most residues.
Cost-Effective: While quality PVC panels are an upfront cost, they’re often cheaper than equivalent-size assembled enclosures. For example, a 4′×2′×2′ kit from a supplier runs $342–$417, whereas raw PVC sheets and hardware for DIY can cost well under $200 (see cost breakdown below).
Because of these advantages, a DIY PVC cage can perform like a professional habitat without the high price. Just be sure to use high-quality, 1/2″ (12mm) solid PVC (not thin corrugated plastic), and keep it out of direct sunlight (PVC can warp under intense UV).
Planning Your Build
Choose Dimensions & Layout: Base your cage size on your pet’s species. For example, a 4′×2′×2′ (48″×24″×24″) enclosure suits many snakes and lizards. Allow extra height for climbing species (some keepers build 3′–4′ tall). Draw a simple plan showing the back, two sides, top, bottom, and door panels. Decide whether the door will be sliding (front panel slides in grooves) or hinged (panel swings out). Sliding glass or acrylic doors are popular for easy access.
Materials List: At minimum, you’ll need:
PVC Sheets: A 4′×8′ sheet of ½″ expanded PVC (foam PVC) is about $100. This can be cut into panels for a 4×2×2 cage (back, top, bottom, and part of a side) with little waste. A second sheet may be needed for the remaining side and shelf supports.
Front Door Panel(s): Tempered glass is safest (does not scratch or flex) and costs about the same as acrylic. For a 4×2×2 cage, two 2′×2′ tempered glass sliding doors are ~$20–$30 each. Acrylic panels work too but scratch more easily.
Fasteners & Brackets: Coarse-thread screws (1¼″ #6 or #8 panhead) to join panels. Optionally, L-shaped corner brackets can reinforce corners. You’ll also need clips or hinges if making a hinged door, or small nylon clips for glass.
Sealant: 100% silicone caulk (aquarium-safe) or special adhesives (e.g. Lexel) to seal seams.
Tools: Jigsaw or circular saw (with fine blade) for cutting PVC; drill/driver; measuring tape; square; pencil; caulk gun.
Cutting Panels: Measure twice! Mark and cut each panel to size. Cut slowly to avoid chipping the PVC. Smooth any rough edges with fine sandpaper. Always cut outdoors or wear a mask to avoid inhaling PVC dust.
Ventilation & Extras: Decide on ventilation. Even though PVC holds humidity well, reptiles need fresh air. You can cut vent holes (covered with hardware cloth) or plan for a screen top. Many keepers simply mount mesh panels on top or use screen lids. Also plan locations for lights or heat: cut holes or mount points if using fixtures (see Heating & Lighting below).
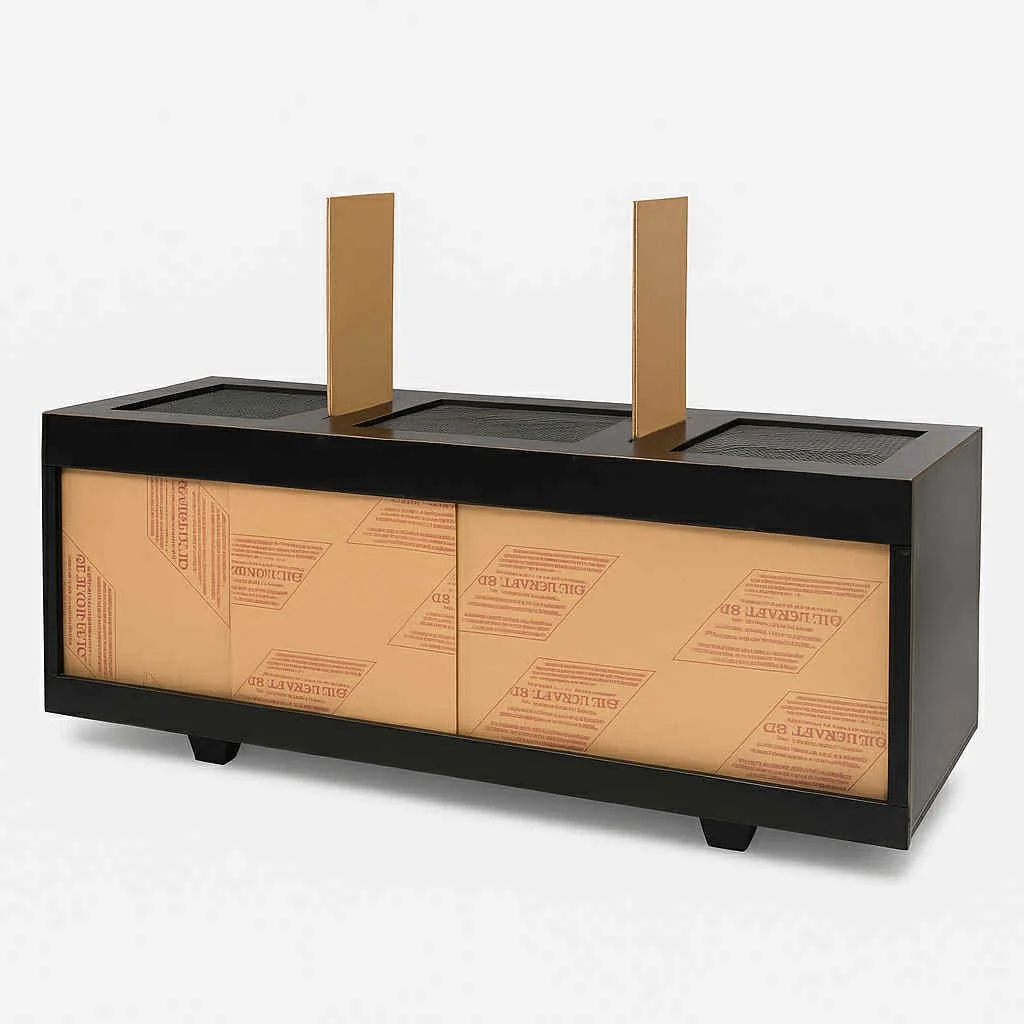
Custom 6 foot black enclosure by Stumps Custom Wood
Step-by-Step Assembly
Below is a general build process. Your specific steps may vary slightly.
Assemble the Shell: Lay the back panel flat on the floor (face-up). Align one side panel along its right edge so the interior faces up (match any factory arrows if present). Pre-drill pilot holes and drive screws through the side panel into the edge of the back panel. Repeat on the left side. Now screw the bottom panel under these panels, and the top panel on top. At this point you have a “box” (back+two sides+top+bottom) joined by screws. It may help to clamp pieces or enlist a helper to hold panels flush.
Tip: If available, use an aluminum corner bracket or an extra PVC strip inside the corner to buttress each joint for extra strength. Seal each interior corner with silicone as you go to prevent any moisture seepage.
Frame the Front (Door): If using sliding glass doors, glue or screw a thin PVC “frame” at the top and bottom of the front opening (a channel groove can be cut or an extruded track added). Then insert the tempered glass panels: lift one glass into the top track and let it sit down in the bottom groove. Repeat for the other door. (Toad Ranch notes that placing finger-pull handles slightly below center makes sliding easier.) If you chose a hinged door: cut or buy a front panel and attach it with hinges on one side and a latch on the other. Make sure the door fits snugly but can open/close without rubbing the PVC edges.
Citation: The Toad Ranch assembly tips recommend inserting tempered glass by angling it into the top channel, then dropping it into the bottom track. They also note that glass doors clean easily and don’t scratch like acrylic.
Install Ventilation: Before final sealing, cut or attach ventilation. Many builders cut vent holes (e.g. 2″–3″ round holes) on the side or back panels and cover them with fine mesh or pre-made vent inserts. Alternatively, fit a screened top. Proper vents help airflow and prevent overheating.
Seal the Seams: Once all panels and doors are fitted, turn the enclosure upright and seal the edges inside. As manufacturers advise, apply 100% silicone or Lexel sealant along all seams and screw holes. This makes the cage essentially waterproof (important for bioactive or high-humidity builds). Wipe away excess and let it cure fully (usually 24 hours) before adding any moisture or your pet.
Finish the Exterior: After the sealant cures, you can hide screw heads with PVC screw-cap covers or paint them with matching paint. Many DIYers apply a thin, reptile-safe spray paint to make panels look uniform (for example, matte black or white). Let paint dry completely before use.
Add Accessories & Decor: Now outfit the cage with substrate (soil, sand, coco-fiber, etc.), hiding spots, branches, and the essentials (water dish, plants). Place a sturdy rock or tile under where you’ll put the heat lamp (to distribute heat). Clean the new enclosure by wiping down with a vinegar solution before introducing the pet.
Heating and Lighting
Proper heating is critical. For PVC enclosures, Radiant Heat Panels (RHPs) are popular: these flat infrared panels mount on the ceiling and gently warm the habitat from above. The owner-safe panel heats the interior like a “sun,” and reptiles can press against it without burning (unlike hot bulbs). If using a heat lamp instead, always place a rock or ceramic tile under the lamp as a basking spot (PVC by itself resists heat transfer).
Important: Always use a thermostat probe to regulate heat. Apex Reptile notes that under-tank heat mats are not recommended on PVC enclosures because PVC is a great insulator (heat mats would have to run very hot, creating safety issues). Instead, use ceiling or overhead heat (lamp, RHP) with a proper thermostat. Provide a temperature gradient (warm side vs. cool side) so the reptile can thermoregulate.
For lighting, any necessary bulbs can be mounted in the lid or over a mesh top. Ensure UVB lighting if required by your species, and use timers for day/night cycles. In summary, follow these guidelines: thermostat control for any heat source; avoid UTH mats; use heat lamps or radiant panels with tiles beneath; and give your pet options to move to cooler areas.
Cost Breakdown: DIY vs. Prebuilt
Building DIY can dramatically cut cost. As one enthusiast noted, a 4′×2′×2′ prefabricated PVC kit sells for roughly $342–$417. By contrast, our DIY material costs can be much lower:
PVC Sheets: Two 4′×8′×½″ sheets (~$100 each) – total $200. These cover all panels needed.
Doors: Two 2′×2′ tempered glass doors ~ $25 each (or less if salvaged) – $50. (Indeed, in many areas a 2×2 tempered piece costs about the same as plastic and is scratch-resistant.)
Hardware: Screws, brackets, caulk, etc. – about $20.
Optional Extras: Some builders use small pieces of trim or support bars ($10–$20).
In total, a 4×2×2 enclosure can be built for on the order of $150–$200 in materials (assuming you already have basic tools). That’s roughly half or less of the prefab price. Larger cages scale similarly. For example, a 5′×2′×2′ kit runs about $445–$530, whereas DIY materials (three 4×8 sheets plus doors) might still total under $300. You also get the bonus of doing it on your schedule without months-long lead times.
In summary, a DIY build lets you tailor the size, layout, and features on a budget. With careful planning, you can create a sturdy, humidity-holding habitat that keeps your reptile happy without breaking the bank.
Final Tips
Safety First: Double-check all wiring and heater placements for fire safety. Use a certified thermostat.
Escape-Proofing: Ensure all edges and locks are secure – snakes especially are good at testing weak points.
Cure Time: Allow any paints or silicones to fully cure (follow product labels) before housing animals.
Ventilation: If keeping tropical species, a bit of airflow is needed. If the cage seems too “airtight,” consider adding small vent fans or more screened areas.
Building your own PVC reptile enclosure is a rewarding project. With the advantages of PVC and the right planning, you can achieve a custom habitat with professional performance at DIY cost. Enjoy the process, cite your sources of inspiration, and your reptile will thank you for the comfortable new home!
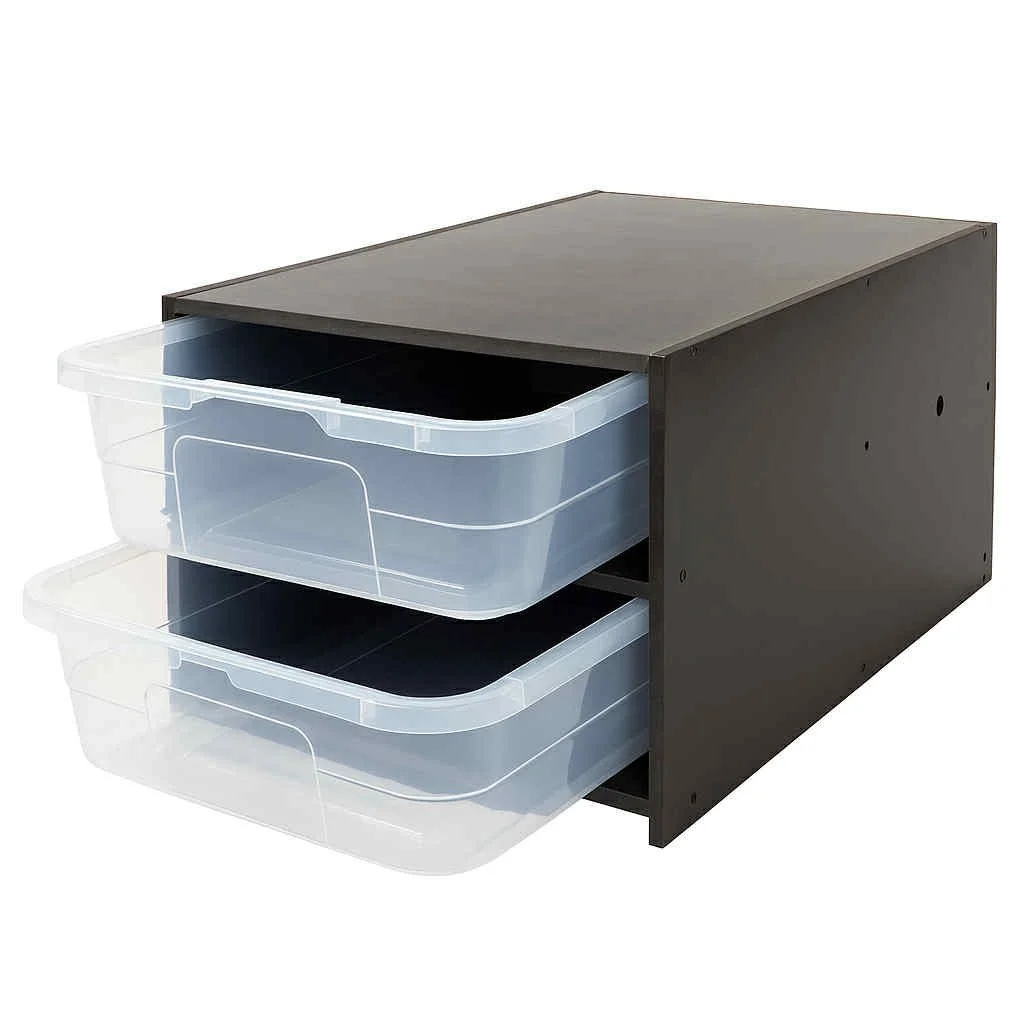
2 slot black pvc snake rack
📚 Sources & Further Reading
Apex Reptile – Complete Guide to Heating & Lighting Your PVC Reptile Enclosure
Stumps Custom Wood – Top 5 Affordable PVC Reptile Enclosures for 2025
Talis Us Blog – Complete Guide to Setting Up a Reptile Enclosure
Vision Products – Reptile Enclosure Materials: Which is The Best for You?
Talking Serpents – PVC Reptile Enclosure Kits (example kit prices)
Toad Ranch – Reptile Enclosure Assembly Instructions (tips on silicone and cleaning)
Further Research: For more on reptile care and enclosures, consider books like The Complete Book of Reptiles and Amphibians and resources from reptile clubs or forums.