
How to Build Custom Pantry Shelves with Cut-to-Size Lumber
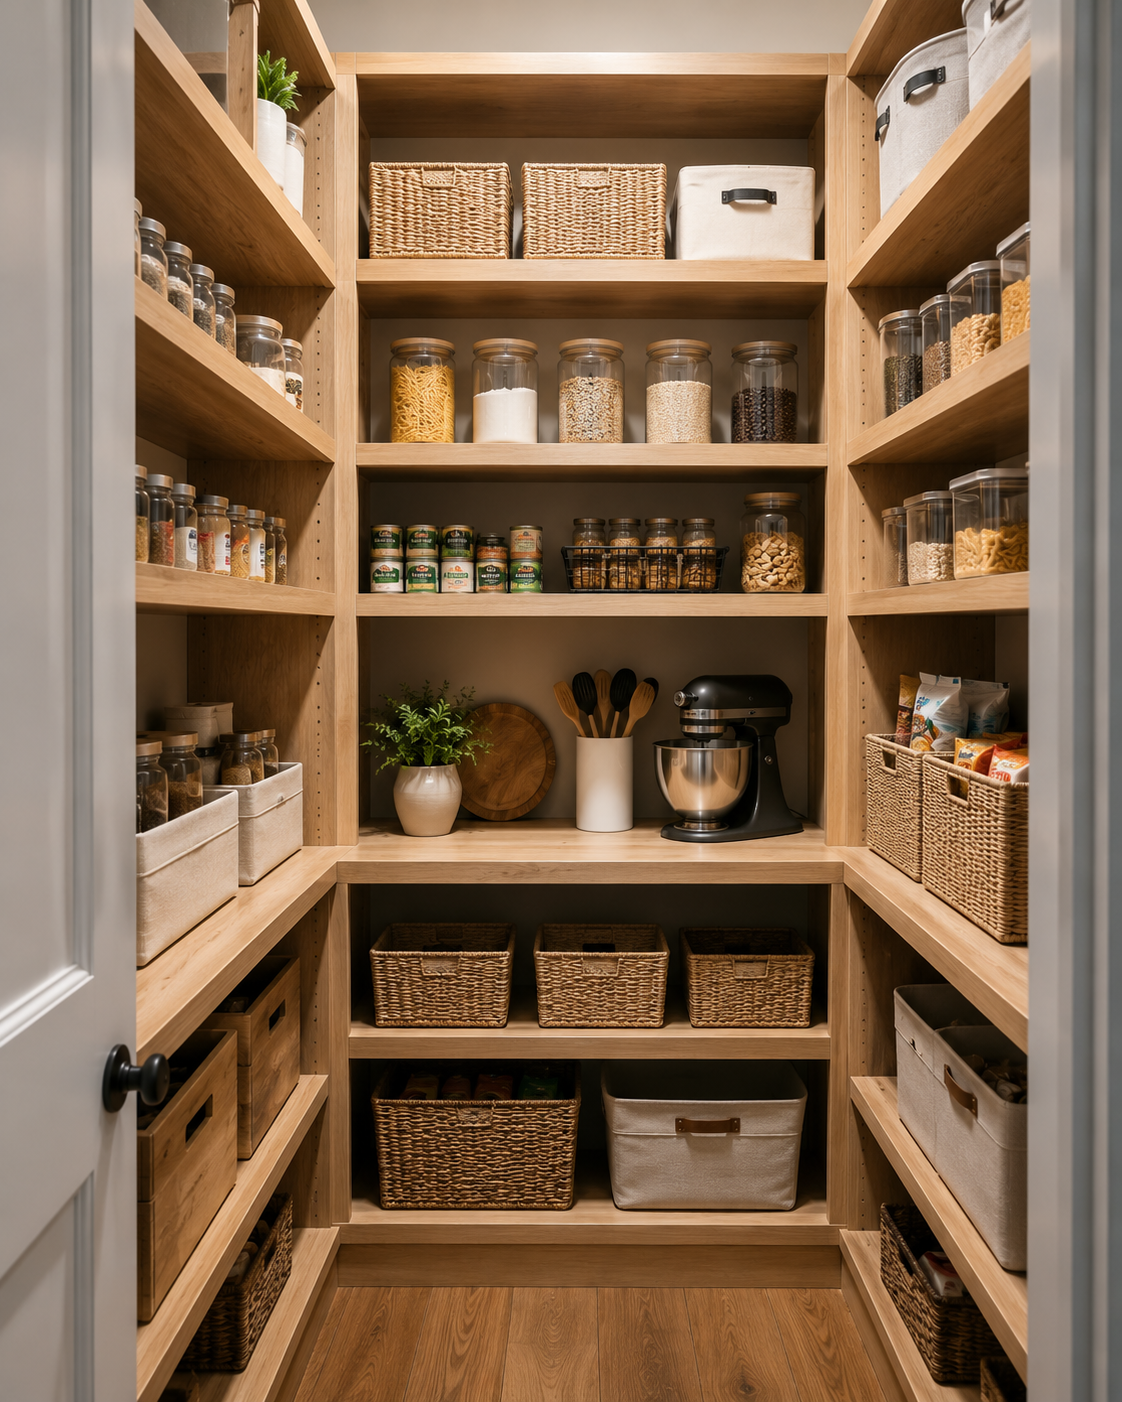
How to Build Custom Pantry Shelves with Cut-to-Size Lumber
Building custom pantry shelves with cut-to-size lumber is one of the easiest ways to maximize storage while achieving a built-in, professional look. Start by measuring your pantry, designing a layout based on what you'll store, choose durable lumber such as white oak, maple, or cabinet-grade plywood, and order boards cut to your exact dimensions to save time and reduce waste.
Why Build Custom Pantry Shelves?
A pantry should make your kitchen more organized—not more frustrating.
Unfortunately, many builder-grade pantries come with only a few fixed wire shelves that waste valuable storage space and make it difficult to organize food, cookware, and small appliances.
Custom pantry shelves allow you to:
Maximize every inch of storage
Eliminate wasted vertical space
Support heavier items safely
Create a cleaner, built-in appearance
Customize shelf heights for your family's needs
Increase your home's functionality and value
Using cut-to-size lumber simplifies the project by reducing measuring and cutting during installation.
Plan Your Pantry Layout First
Before buying lumber, think about what your pantry will hold.
Different items require different shelf depths and spacing.
For example:
Pantry ItemRecommended Shelf DepthSpice jars4–6 inchesCanned goods10–12 inchesDry food containers12–14 inchesSmall kitchen appliances16–20 inchesBulk storage bins16–24 inches
Sketch your pantry and identify where each type of item will be stored.
This simple step helps create a practical layout that keeps everything within easy reach.
Measure Your Pantry Carefully
Accurate measurements are essential for a professional-looking installation.
Measure:
Wall width
Wall height
Pantry depth
Door clearance
Existing trim
Baseboards
Corners that may not be perfectly square
Measure each wall separately, even if they appear identical.
For older homes, slight differences are common.
Choose the Best Wood for Pantry Shelves
Selecting the right material affects both durability and appearance.
White Oak
A premium hardwood known for:
Excellent strength
Beautiful grain
Long lifespan
Resistance to everyday wear
Ideal for custom, high-end pantry systems.
Maple
Perfect for heavy-duty shelving.
Benefits include:
High strength
Smooth surface
Excellent durability
Clean modern appearance
Cabinet-Grade Plywood
A favorite among professional cabinet makers because it offers:
Excellent stability
Large sheet sizes
Good value
Minimal warping
It works especially well for painted or built-in pantry shelves.
Pine
An affordable option that's easy to work with.
Best suited for:
Budget-friendly projects
Light to medium storage
DIY beginners
For longer shelves, additional supports may be needed to prevent sagging.
Why Order Cut-to-Size Lumber?
Having your boards cut before delivery offers several advantages.
Benefits include:
Precise dimensions
Less material waste
Faster installation
Reduced need for power tools
Cleaner finished appearance
Easier assembly
This is especially helpful when building a pantry with multiple shelves of different lengths.
Materials You'll Need
Typical materials include:
Cut-to-size lumber
Shelf brackets or cleats
Wood screws
Wall anchors (if needed)
Construction adhesive
Sandpaper
Wood filler
Paint or clear finish
Stud finder
Level
Drill
Tape measure
Having everything ready before starting makes installation much smoother.
Step-by-Step Installation
Step 1: Locate Wall Studs
Use a stud finder to identify wall studs.
Whenever possible, fasten shelf supports directly into studs for maximum strength.
Step 2: Install Wall Cleats or Brackets
Install support cleats around the perimeter of the pantry or use heavy-duty shelf brackets.
Use a level to ensure every support is perfectly straight.
Step 3: Test Fit the Shelves
Before securing the shelves permanently:
Place each shelf on its supports.
Check the fit.
Confirm spacing.
Make adjustments if necessary.
A dry fit helps prevent mistakes.
Step 4: Secure the Shelves
Once everything fits correctly:
Attach shelves with screws where appropriate.
Fill visible screw holes if desired.
Sand any rough edges.
Your pantry should already begin to resemble a custom built-in system.
Step 5: Finish the Wood
Protect your shelves with a finish suited to your chosen material.
Popular options include:
Clear polyurethane
Water-based polyurethane
Hardwax oil
Satin lacquer
Cabinet paint
Allow the finish to cure fully before loading the shelves.
Recommended Shelf Spacing
Shelf spacing depends on what you'll store.
General guidelines include:
Shelf UseRecommended Vertical SpaceCanned goods8–10 inchesDry food containers10–12 inchesMixing bowls12–15 inchesSmall appliances16–20 inchesBulk storage18–24 inches
Adjust spacing to fit your household's needs.
Tips for a Professional Finish
To achieve a built-in look:
Keep shelf thickness consistent.
Sand all exposed edges.
Use hidden fasteners when possible.
Match the finish to existing cabinetry.
Fill gaps with paintable caulk.
Check every shelf with a level before securing.
Attention to detail makes a noticeable difference.
Common Mistakes to Avoid
Ignoring Weight Capacity
Pantry shelves often support canned goods and appliances, which can become surprisingly heavy.
Choose materials and supports designed for the expected load.
Making Shelves Too Deep
Shelves that are excessively deep can make it difficult to see and access items stored at the back.
Forgetting About Door Clearance
Always ensure pantry doors can open fully without hitting shelves or stored items.
Skipping the Finish
Even in a pantry, sealing the wood protects against moisture, stains, and everyday wear.
Frequently Asked Questions
What is the best wood for pantry shelves?
White oak and maple are excellent choices for heavy-duty shelving, while cabinet-grade plywood offers exceptional stability and value for built-in pantry systems.
How thick should pantry shelves be?
Most pantry shelves are built using ¾-inch material, although shelves spanning longer distances or carrying heavy loads may benefit from 1-inch or thicker boards.
Should pantry shelves be attached to wall studs?
Yes. Fastening supports into wall studs provides the strongest and safest installation.
Is cut-to-size lumber worth it?
Absolutely. Ordering lumber cut to your exact measurements saves time, reduces waste, and helps produce a cleaner, more professional-looking result.
Conclusion
Building custom pantry shelves with cut-to-size lumber is a rewarding project that improves both the appearance and functionality of your kitchen. By planning your layout carefully, selecting quality materials, and using boards cut to your exact dimensions, you can create durable shelving tailored to your storage needs.
Whether you're organizing canned goods, storing countertop appliances, or creating a walk-in pantry, custom shelves provide a long-lasting solution that looks professionally built while making everyday life more convenient.
