
How to Finish a Black Walnut Live Edge Slab Like a Professional
How to Finish a Black Walnut Live Edge Slab Like a Professional
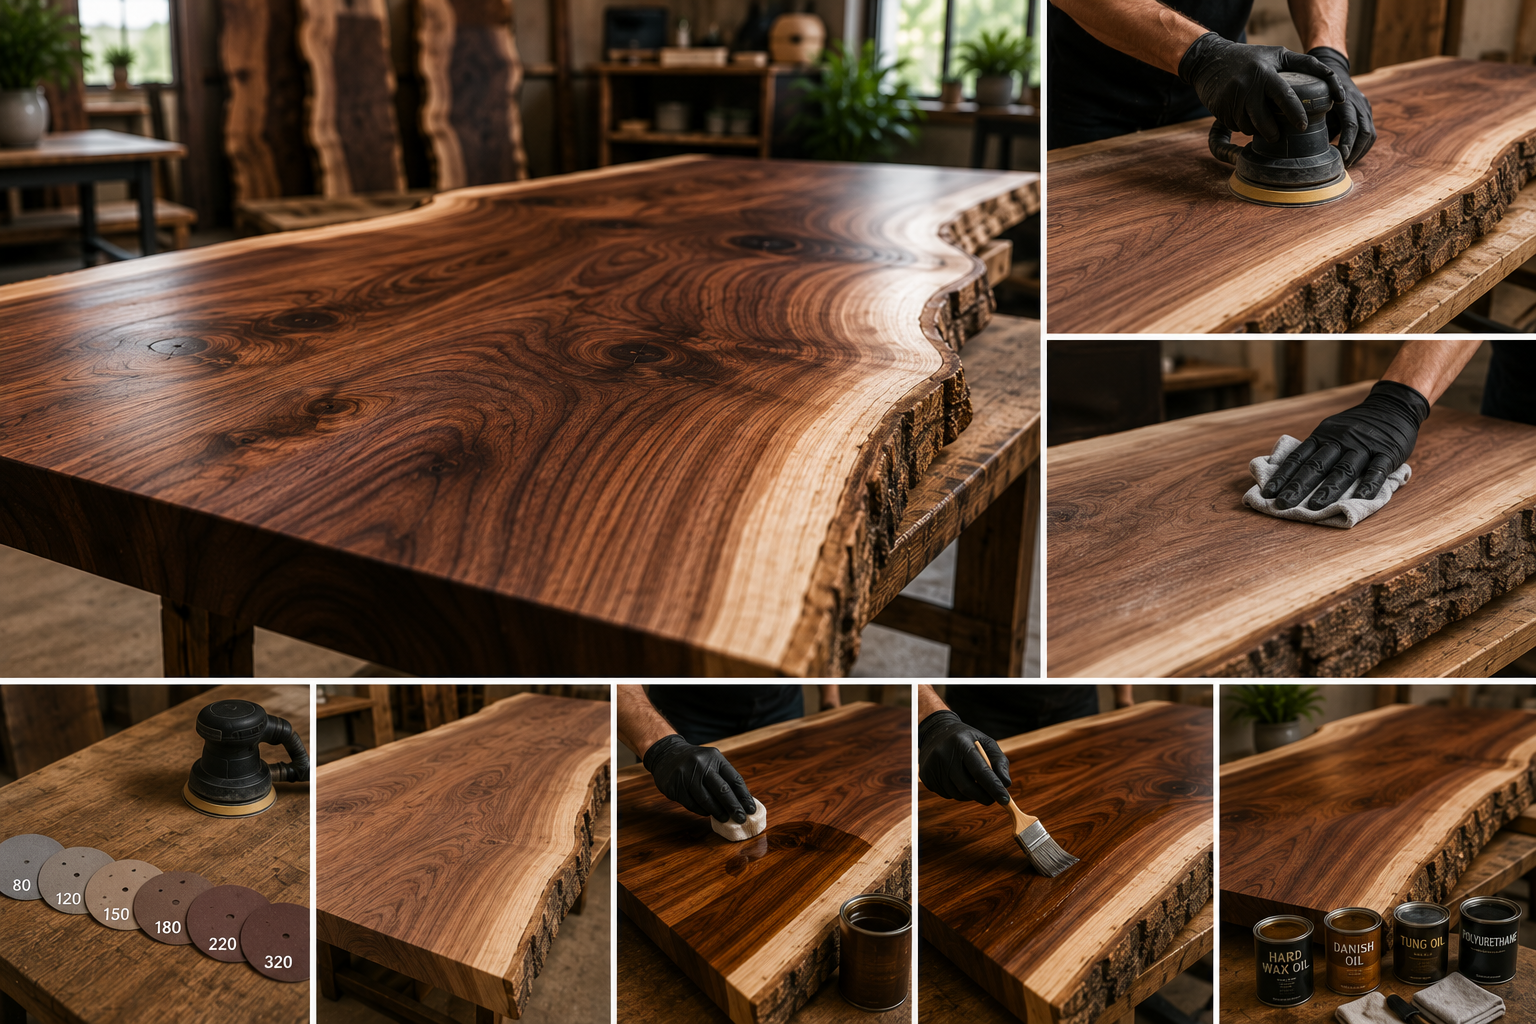
To finish a black walnut live edge slab like a professional, start by ensuring the wood is properly kiln-dried and clean. Sand the slab through progressively finer grits, remove all dust, apply a high-quality finish such as hard wax oil or a premium furniture oil, and allow adequate curing time between coats. The result is a durable, smooth surface that highlights walnut's rich color and beautiful grain.
Why the Finish Matters
A premium black walnut slab deserves a finish that enhances—not hides—its natural beauty.
The right finish does more than improve appearance. It also protects the wood from:
Moisture
Everyday wear
Minor scratches
Stains
UV exposure
Dirt buildup
A professional finish allows the walnut's rich grain and natural color variations to become the focal point while extending the life of your furniture.
Before You Start
Before applying any finish, make sure your slab is ready.
Check that it is:
Properly kiln-dried
Flat and stable
Free from loose bark
Clean and dust-free
Free from grease or wax
If you're working with a freshly milled slab, allow it to reach the appropriate moisture level before beginning the finishing process.
Tools and Materials You'll Need
Gather everything before you begin.
Sanding Supplies
Random orbital sander
Sanding block
Sandpaper (80, 120, 150, 180, 220, and optionally 320 grit)
Cleaning Supplies
Vacuum
Soft brush
Microfiber cloth
Tack cloth or lint-free cloth
Finishing Supplies
Hard wax oil
Danish oil
Tung oil
High-quality polyurethane (for projects requiring extra protection)
Foam brushes or lint-free applicator pads
Safety Equipment
Dust mask or respirator
Safety glasses
Nitrile gloves
Step 1: Inspect the Slab
Carefully examine both sides of the slab.
Look for:
Cracks
Loose knots
Surface scratches
Machine marks
Rough edges
Splinters
Minor imperfections can usually be sanded smooth, while larger cracks may need stabilization before finishing.
Step 2: Preserve the Live Edge
One of the defining features of a live edge slab is its natural contour.
Before sanding:
Remove any loose bark.
Brush away debris.
Smooth sharp splinters.
Keep the natural curves intact.
Avoid reshaping the edge unless necessary. Its organic form is part of the slab's character.
Step 3: Sand the Surface Properly
Professional finishes begin with careful sanding.
Start with a coarse grit if the slab is rough, then gradually work your way to finer grits.
A common progression is:
80 grit
120 grit
150 grit
180 grit
220 grit
For ultra-smooth furniture, you may finish with 320 grit after the first coat of oil has cured and been lightly sanded.
Never skip multiple grit levels, as this can leave visible sanding marks.
Step 4: Remove Every Trace of Dust
Dust left on the surface can ruin an otherwise flawless finish.
After sanding:
Vacuum thoroughly.
Brush dust from the live edge.
Wipe with a microfiber cloth.
Finish with a tack cloth or lint-free cloth.
Take your time—this step has a major impact on the final appearance.
Step 5: Choose the Right Finish
Different finishes create different looks and levels of protection.
Hard Wax Oil
A favorite among furniture makers because it:
Enhances natural color
Leaves a matte or satin appearance
Is easy to maintain
Allows spot repairs
Ideal for:
Dining tables
Desks
Shelves
Benches
Danish Oil
Danish oil penetrates deeply into the wood.
Benefits include:
Rich grain enhancement
Natural appearance
Easy application
Smooth feel
Suitable for decorative furniture and low- to moderate-use pieces.
Tung Oil
Pure tung oil offers:
Excellent water resistance
Natural matte finish
Warm color enhancement
It typically requires multiple thin coats and longer curing times.
Polyurethane
For maximum surface protection, polyurethane is a strong option.
Advantages include:
High durability
Excellent stain resistance
Moisture protection
Suitable for heavy-use furniture
Available in:
Matte
Satin
Semi-gloss
Gloss
Keep in mind that thick film finishes can slightly reduce the natural feel of the wood.
Step 6: Apply Thin, Even Coats
Professional results come from patience.
Apply the finish:
With the grain
In thin, even coats
Without overloading the surface
Allow each coat to dry according to the manufacturer's instructions before applying the next.
Multiple thin coats generally produce a smoother, more durable finish than one heavy coat.
Step 7: Lightly Sand Between Coats
If recommended for your chosen finish, lightly sand between coats using very fine sandpaper.
This helps:
Remove raised grain
Improve adhesion
Create a smoother final surface
Always remove sanding dust before applying the next coat.
Step 8: Allow the Finish to Cure
Drying and curing are not the same.
Although the surface may feel dry within hours, many finishes require several days—or longer—to fully cure.
Avoid placing heavy objects on the slab until the finish has reached full hardness.
Patience at this stage results in a stronger, longer-lasting finish.
Best Finish for Different Projects
ProjectRecommended FinishDining TableHard wax oil or polyurethaneCoffee TableHard wax oilExecutive DeskHard wax oil or Danish oilFloating ShelvesDanish oil or hard wax oilFireplace MantelHard wax oilKitchen IslandHard wax oil or polyurethaneBathroom VanityPolyurethane or water-resistant hard wax oil
Choose a finish based on both the desired appearance and the level of protection your project requires.
How to Maintain a Finished Walnut Slab
Regular maintenance keeps the wood looking its best.
Follow these simple practices:
Dust with a soft cloth.
Wipe spills immediately.
Avoid harsh chemical cleaners.
Use coasters and placemats.
Reapply maintenance oil when recommended by the finish manufacturer.
Keep furniture out of prolonged direct sunlight whenever possible.
With proper care, a finished walnut slab can remain beautiful for decades.
Common Mistakes to Avoid
Skipping Sanding Steps
Jumping from coarse to fine grit can leave scratches that become more visible after the finish is applied.
Applying Thick Coats
Heavy coats take longer to cure and increase the risk of drips, uneven sheen, and surface imperfections.
Ignoring Dust
Even tiny dust particles can become trapped in the finish, affecting the final appearance.
Clean thoroughly between every stage.
Rushing the Curing Process
Using the furniture before the finish has fully cured can leave permanent marks or impressions.
Allow the recommended curing time before putting the piece into regular use.
Frequently Asked Questions
What is the best finish for a black walnut live edge slab?
Hard wax oil is one of the most popular choices because it enhances walnut's natural beauty, provides durable protection, and is easy to maintain. Polyurethane is an excellent alternative for surfaces exposed to heavy daily use.
Should I stain black walnut?
In most cases, no. Black walnut is naturally prized for its rich color and distinctive grain. A clear finish usually showcases its beauty better than stain.
How smooth should I sand walnut before finishing?
For most furniture projects, sanding to 220 grit provides an excellent balance between smoothness and finish absorption. Some finishes may benefit from a light sanding with 320 grit between coats.
How often should I refinish a walnut table?
This depends on the finish and how the furniture is used. Regular cleaning and occasional maintenance can keep most walnut tables looking great for many years before a full refinishing is needed.
Conclusion
Finishing a black walnut live edge slab is the final step that transforms a beautiful piece of hardwood into a stunning work of craftsmanship. By taking the time to prepare the surface, sand carefully, choose the right finish, and apply multiple thin coats, you can achieve professional-quality results that highlight walnut's natural elegance.
Whether you're building a dining table, executive desk, fireplace mantel, floating shelf, or coffee table, the right finishing process protects your investment while bringing out the rich color, flowing grain, and unique character that make black walnut one of the world's most admired hardwoods.
